If you’re planning to install solar pool heating yourself, the most important step happens before you ever pick up a tool.
Preparation.
Having the right tools and materials ready from the start can make the difference between a smooth installation and a frustrating one. The good news is that most DIY solar pool heating projects do not require anything overly specialized. With a well-designed system and a clear checklist, you can move through the process with confidence.
Start With the Right System
Before getting into tools, it is worth saying this clearly.
Your system matters.
A complete solar pool heating kit simplifies the entire installation process. It ensures that your panels, plumbing components, and connectors are designed to work together, which saves time and reduces the risk of errors.
Trying to piece together parts from different sources often creates more work than necessary.
Core Materials You’ll Need
Most of what you need will either come with your kit or be easy to source locally.
Here are the core materials typically involved in a solar pool heating installation:
- Solar pool heating panels
- Mounting hardware for roof or ground installation
- PVC pipes and fittings for water flow
- Flexible hose or connectors (depending on your setup)
- Valves, including a bypass valve to control water flow
- Pipe sealant or Teflon tape
- Clamps and fasteners
These materials form the backbone of your system, allowing water to circulate from your pool, through the panels, and back again.
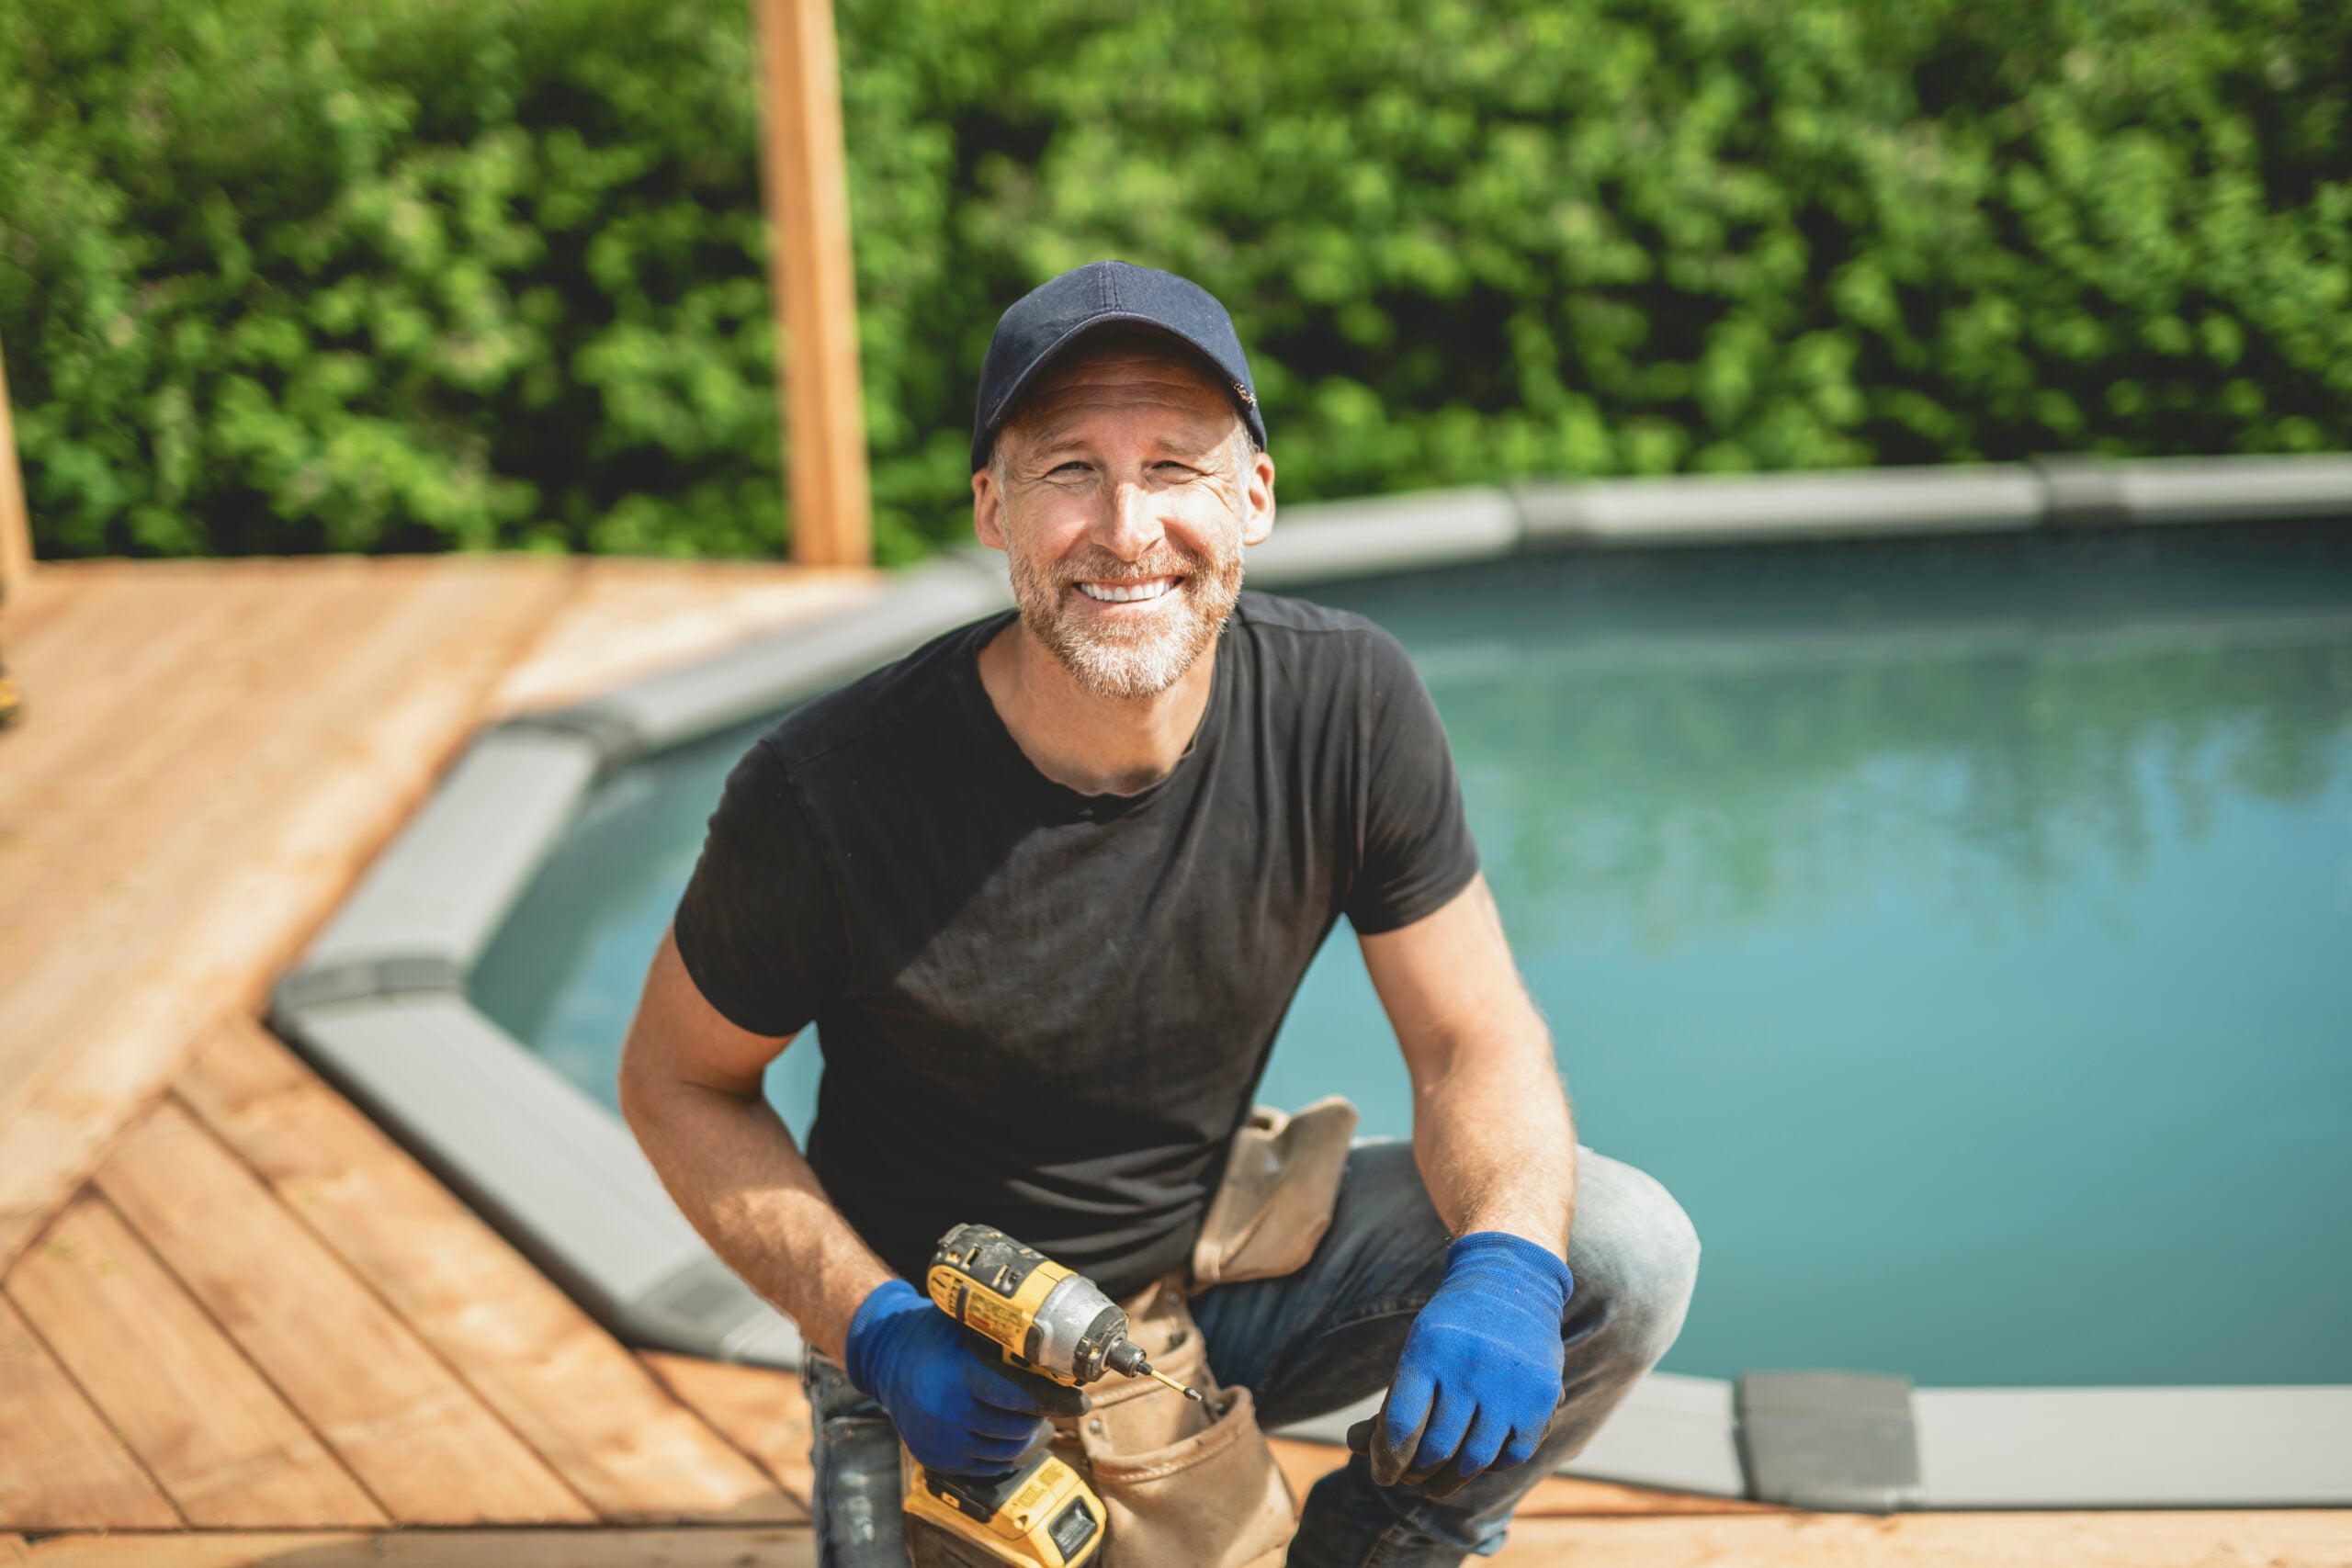
Essential Tools for Installation
Most homeowners already have many of the tools needed for this project.
You’ll typically want:
- A drill with appropriate bits
- A saw for cutting PVC pipe
- A measuring tape
- A level for proper panel alignment
- Screwdrivers or a socket set
- PVC primer and cement
- A ladder if installing on a roof
Depending on your setup, you may also want a helper, especially when positioning panels or working at height.
Optional but Helpful Additions
While not always required, a few extra items can make the process easier and more precise:
- Pipe cutters for cleaner cuts
- A marker for labeling connections
- Safety gear such as gloves and eye protection
- Roof sealant for added protection around mounting points
These small additions can improve both the installation experience and the long-term reliability of your system.
Know Your Setup Before You Begin
One of the most overlooked steps in DIY installation is understanding your pool’s existing plumbing.
Take time to identify:
- Where your pump and filter connect
- Where you will tie into the return line
- The best location for your panels based on sun exposure
A simple plan, even sketched out ahead of time, can save hours during installation.
Keep It Simple
Solar pool heating works because it is simple.
Water flows through panels, the sun does the work, and the warmed water returns to your pool. When your materials are organized and your tools are ready, the installation process becomes much more manageable.
Most issues people run into come from missing pieces or unclear planning, not from the system itself.
The Bottom Line
You do not need a truck full of specialized equipment to install solar pool heating.
With a complete system, a handful of common tools, and a clear understanding of your setup, this is a project many homeowners handle successfully.
The key is starting prepared.
Ready to Get Started?
If you’re planning a DIY installation, Solar Pool Warehouse can help you get everything you need in one place.
Our solar pool heating kits are designed to simplify the process, with components that work together and guidance to help you along the way. And if you decide you’d prefer a hand with installation, we can connect you with trusted professionals like Celestial Solar.
Reach out today or explore our systems to take the next step toward a warmer pool and a longer swimming season.